 English
  Español
  Français
  Português
  Deutsch
  Italiano
  Русский
  中文
中文  日本語
日本語  العربية
  हिन्दी
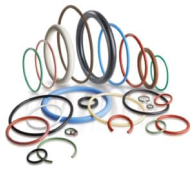
O-Ring Splicing Kits Overview
 O-Ring splicing kits are valuable for making custom-size o-rings for immediate repairs in the field. Typical splicing kits contain o-ring cord in multiple cross-section sizes, splicing jig, cutting blade, rapid-set adhesive, and a card containing step-by-step instructions. Standard and metric o-ring splicing kits are offered in a variety of materials, durometers, and profiles.
As with all spliced o-rings, they are intended for use in static applications. Splicing o-rings on the spot can serve as a temporary sealing solution, however, better sealing options exist in having hot spliced vulcanized o-rings ready for static applications, or molded o-rings for both static and dynamic environments.
Splicing kits may also be customized. If you would like to request a quote on a custom o-ring splicing kit or have a question about our splicing kits in general, please give us a call at 832-448-5550 or fill out the Product Inquiry Form. Below is a table displaying the common standard and metric kits linked to our online store.
| O-Ring Kit | Kit Image | Kit Description | Kit Compounds |
|---|---|---|---|
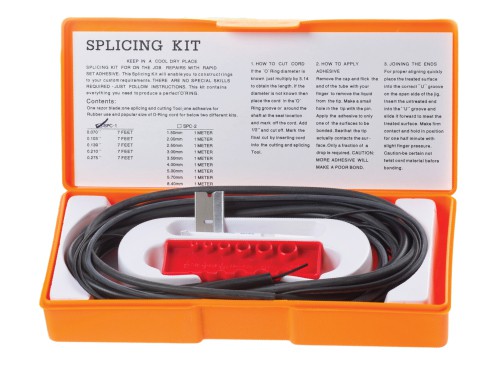
| Standard Splicing Kit | 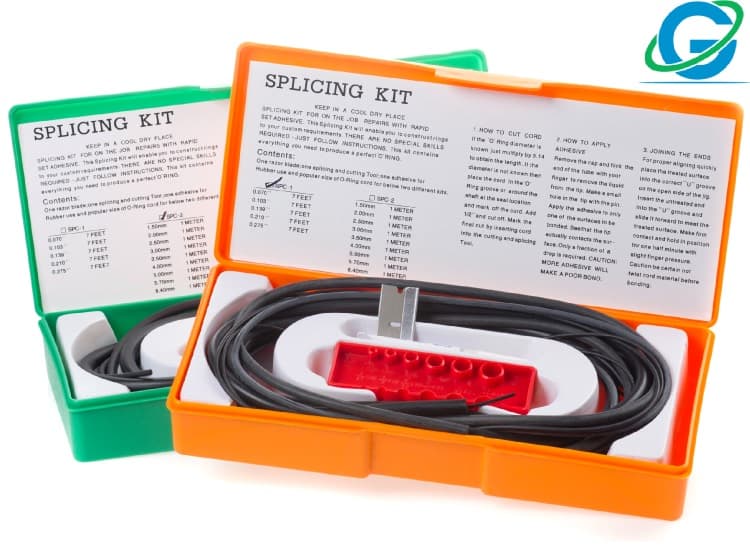 |
5 Pieces | 7 Feet Each
Includes blade, splicing JIG, and tube of rapid set adhesive for immediate onsite repairs |
|
| Metric Splicing Kit | |
9 Pieces | 1 Meter Each
Includes blade, splicing JIG, and tube of rapid set adhesive for immediate onsite repairs |
MN70 | MV75 | MV90 | ME70 |
How To Splice An O-Ring
To get started splicing o-rings, use the following instructions as a guide:
- Wrap the cord into the space where the final o-ring will be placed. Mark the cord with an additional mark 0.5″ after the initial. Alternatively, if you know the o-ring diameter, multiply that value by 3.14 to retrieve the necessary cut length for the initial mark (and a secondary mark 0.5″ after the initial).
- Push the cord through the corresponding circular cross-section hole on the splicing jig, lining up the secondary mark with the jig opening.
- Use the blade to cut through the middle of the jig. The distance between the jig opening and the middle is 0.5″, which is why the secondary mark is placed on the cord for guidance.
- Apply adhesive to only one ending surface. A little less than a drop is sufficient. Note: Adding more adhesive than necessary will make the bond weaker.
- Using the grooved side of the splicing jig, slide the treated end of the cord in the corresponding cross-section groove. Then carefully slide the untreated end from the opposite side of the groove until both ends meet.
- Apply slight finger pressure and hold the position for 30 seconds. Do not twist the cord.
- Once finished, the spliced o-ring should be ready for service use.
Product Inquiry
"*" indicates required fields


